The Ironing Masterclass
The most commonly ironed item is a shirt, but few have truly mastered the art. This is one of the most complex items of clothing to iron because of its many parts, so we have compiled our top tips to banish creased shirts for good.
STEP 1
Before you begin ironing, remove any collar stiffeners and undo all the buttons including the cuffs.
STEP 2
For cotton shirts, get the iron as hot as possible as this gives the best finish. Remember not to leave the hot iron in one position for more than a few seconds because this will singe the fabric.
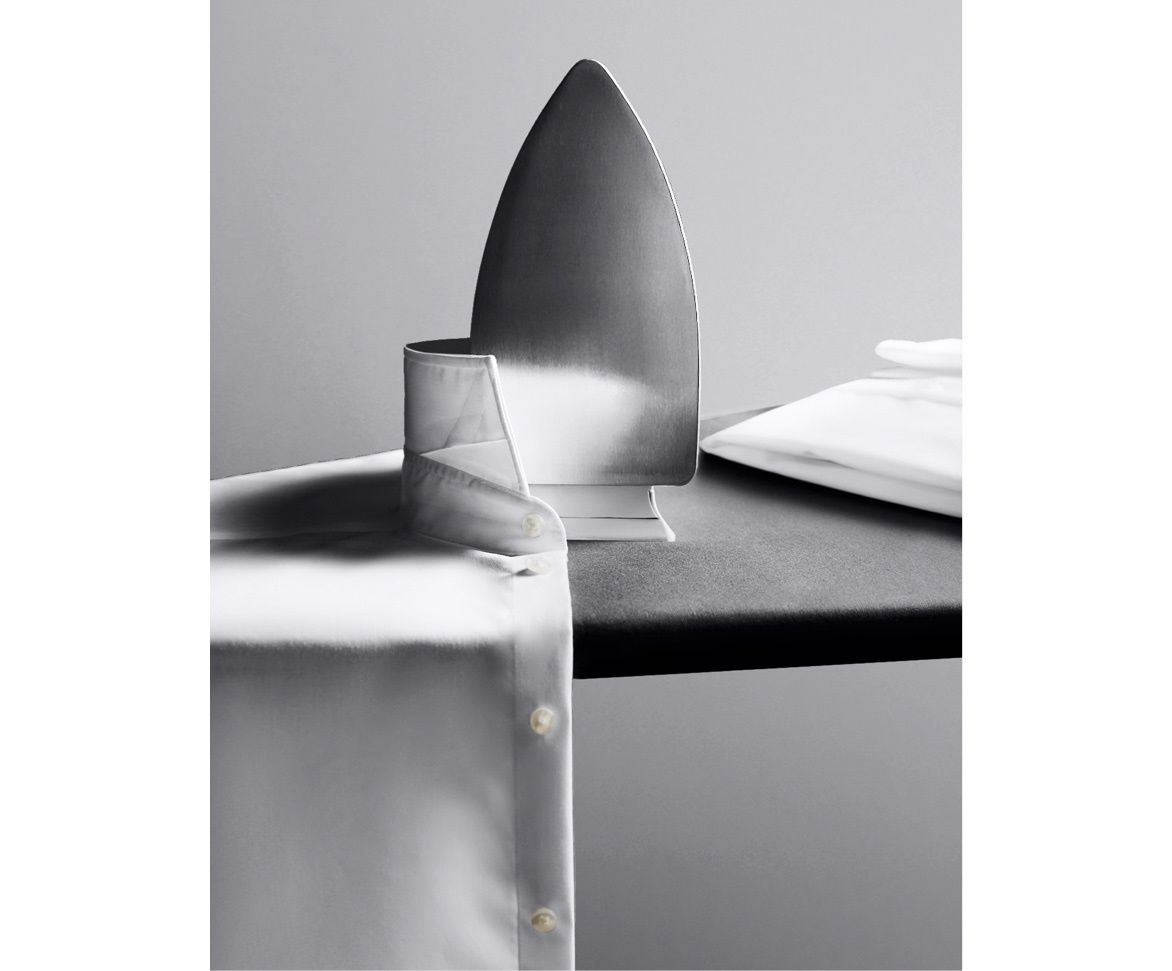
STEP 3
Start by ironing the collar; first on the underside and then on the outside.
STEP 4
Place one sleeve along the ironing board with the front side up. Dampen the cuff and press down with the iron. When the cuffs have been ironed, move onto the sleeves.
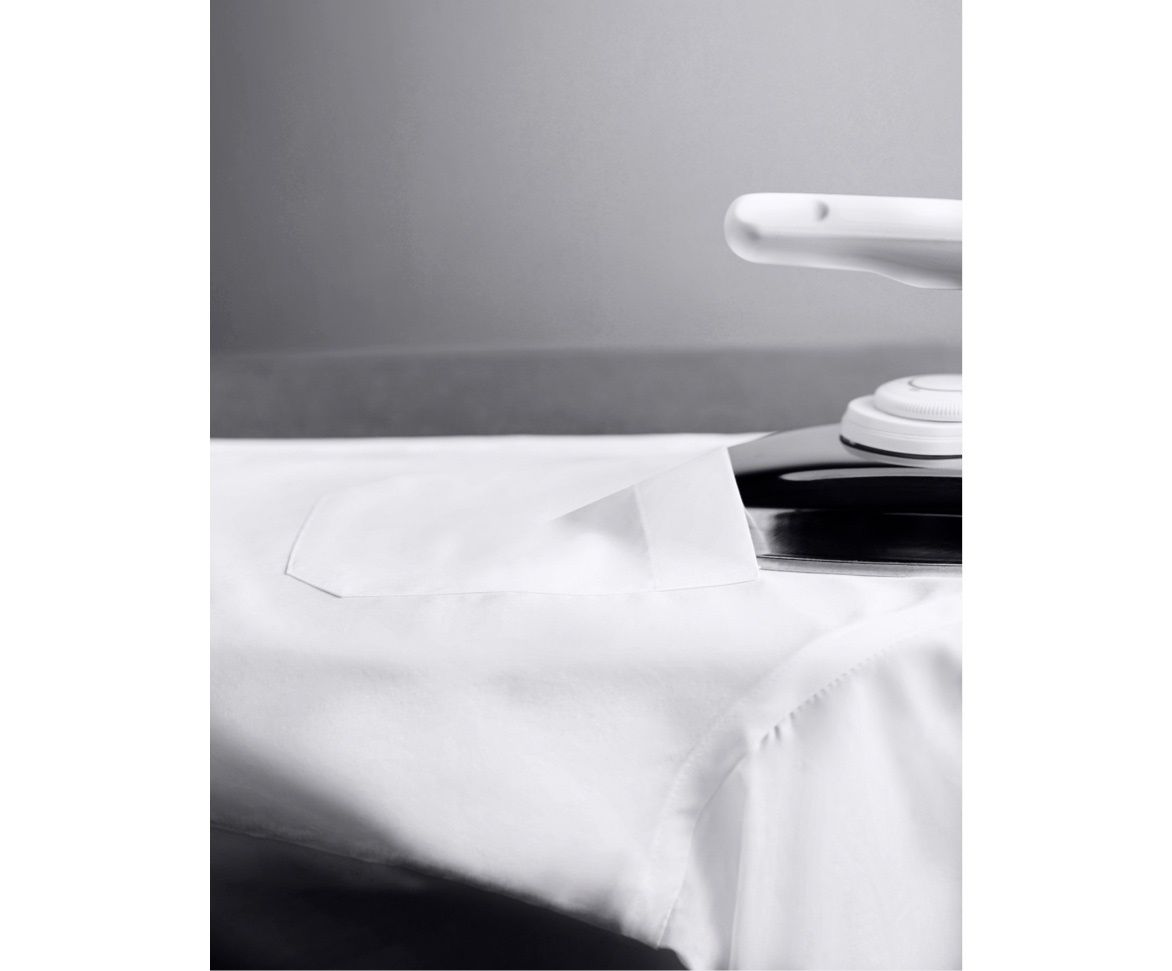
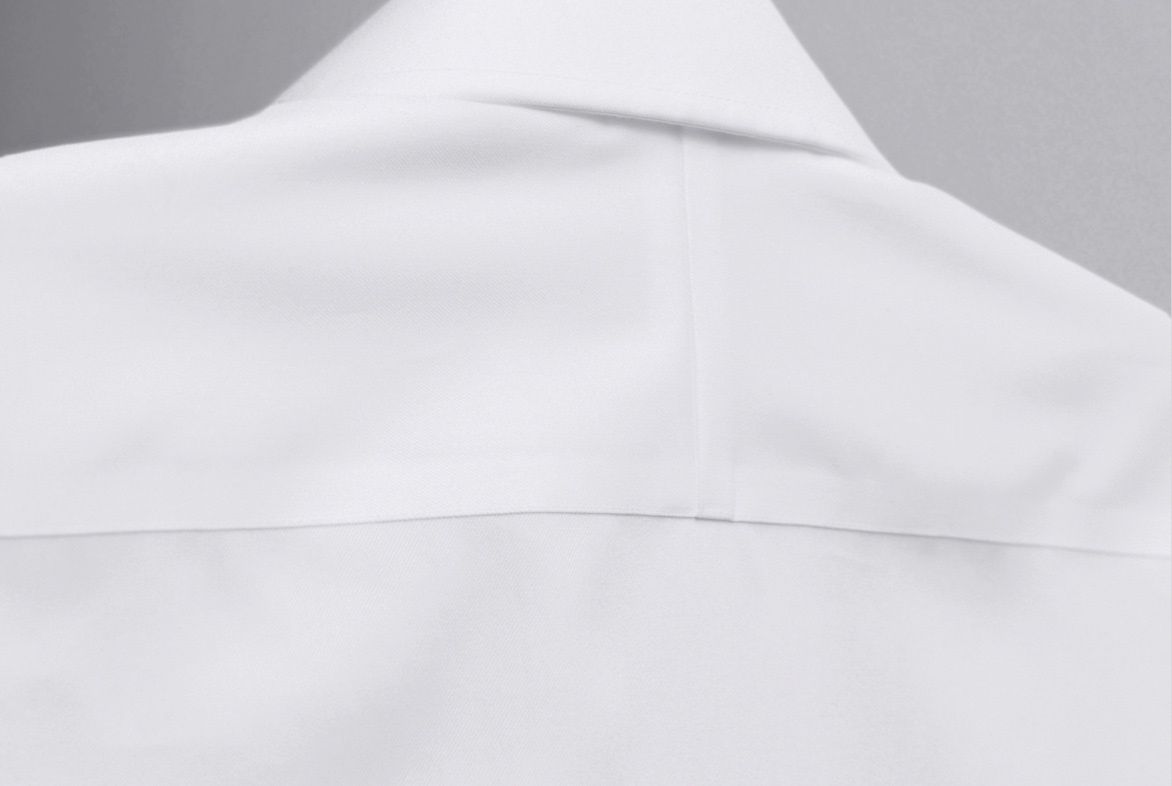
STEP 5
Iron the yoke (the area around the neck and shoulders) by placing the top sleeve over the pointed end of the ironing board so the yoke is flat. Do the same for each half.
STEP 6
Next, move onto the main body of the shirt. Place the shirt flat on the board, dampen and then iron, moving the shirt slowly over the board as you go to avoid overstretching.
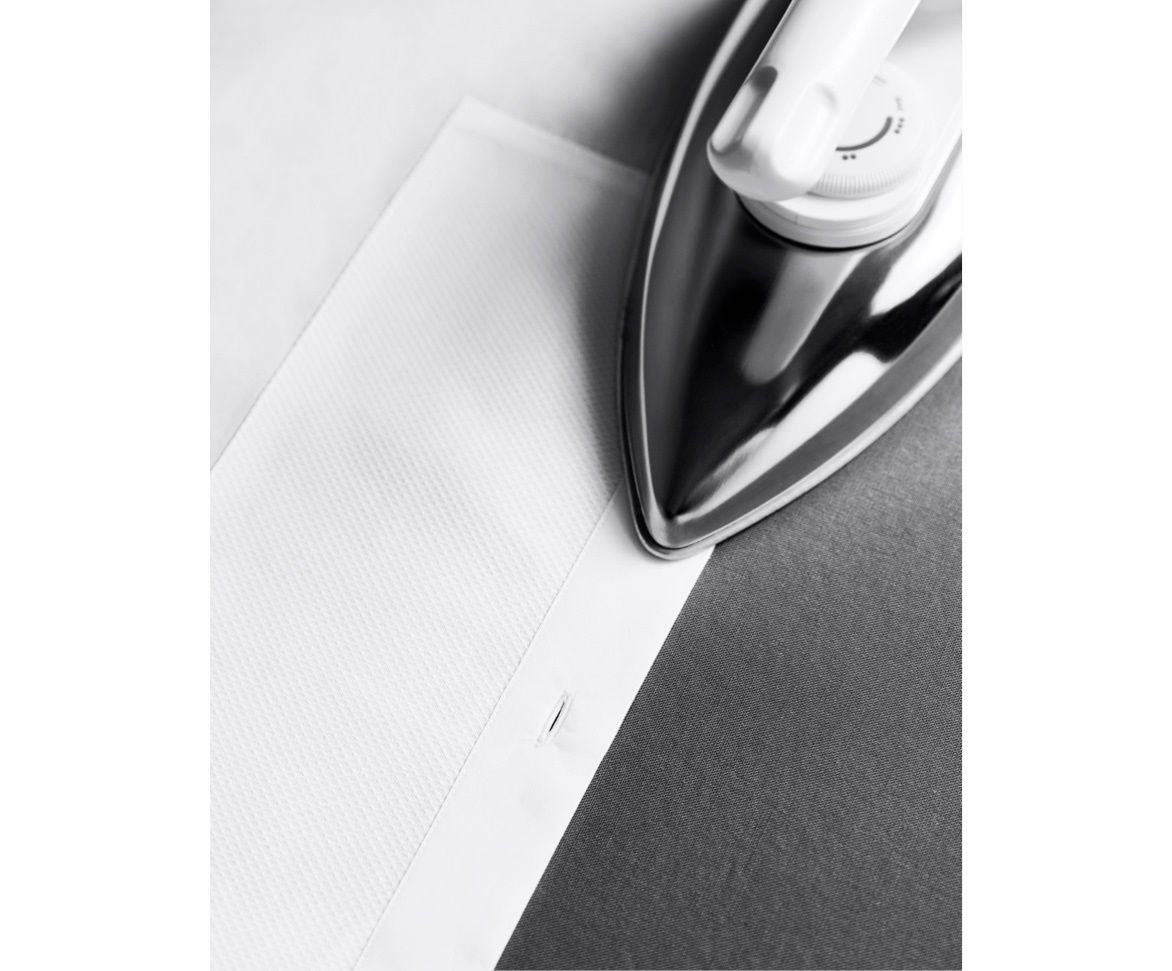
STEP 7
The final part of the procedure is to iron in between the buttons. Be careful not to put the iron directly onto the buttons, because if they are made from mother of pearl the heat will break them, and if they are made from plastic they will melt.
Don't Like Ironing?
For those who want to avoid ironing altogether, try our luxury non-iron shirts. They have been finished with the latest anti-crease technology to ensure that when the shirts are hung up to dry after washing, they remain remarkably crease free.